Z Chamber 07 Developer Commentary
This was chamber 06 in PortalZ: The 2020 Slice.
Developer commentary may include spoilers; I recommend you finish PortalZ before reading further.
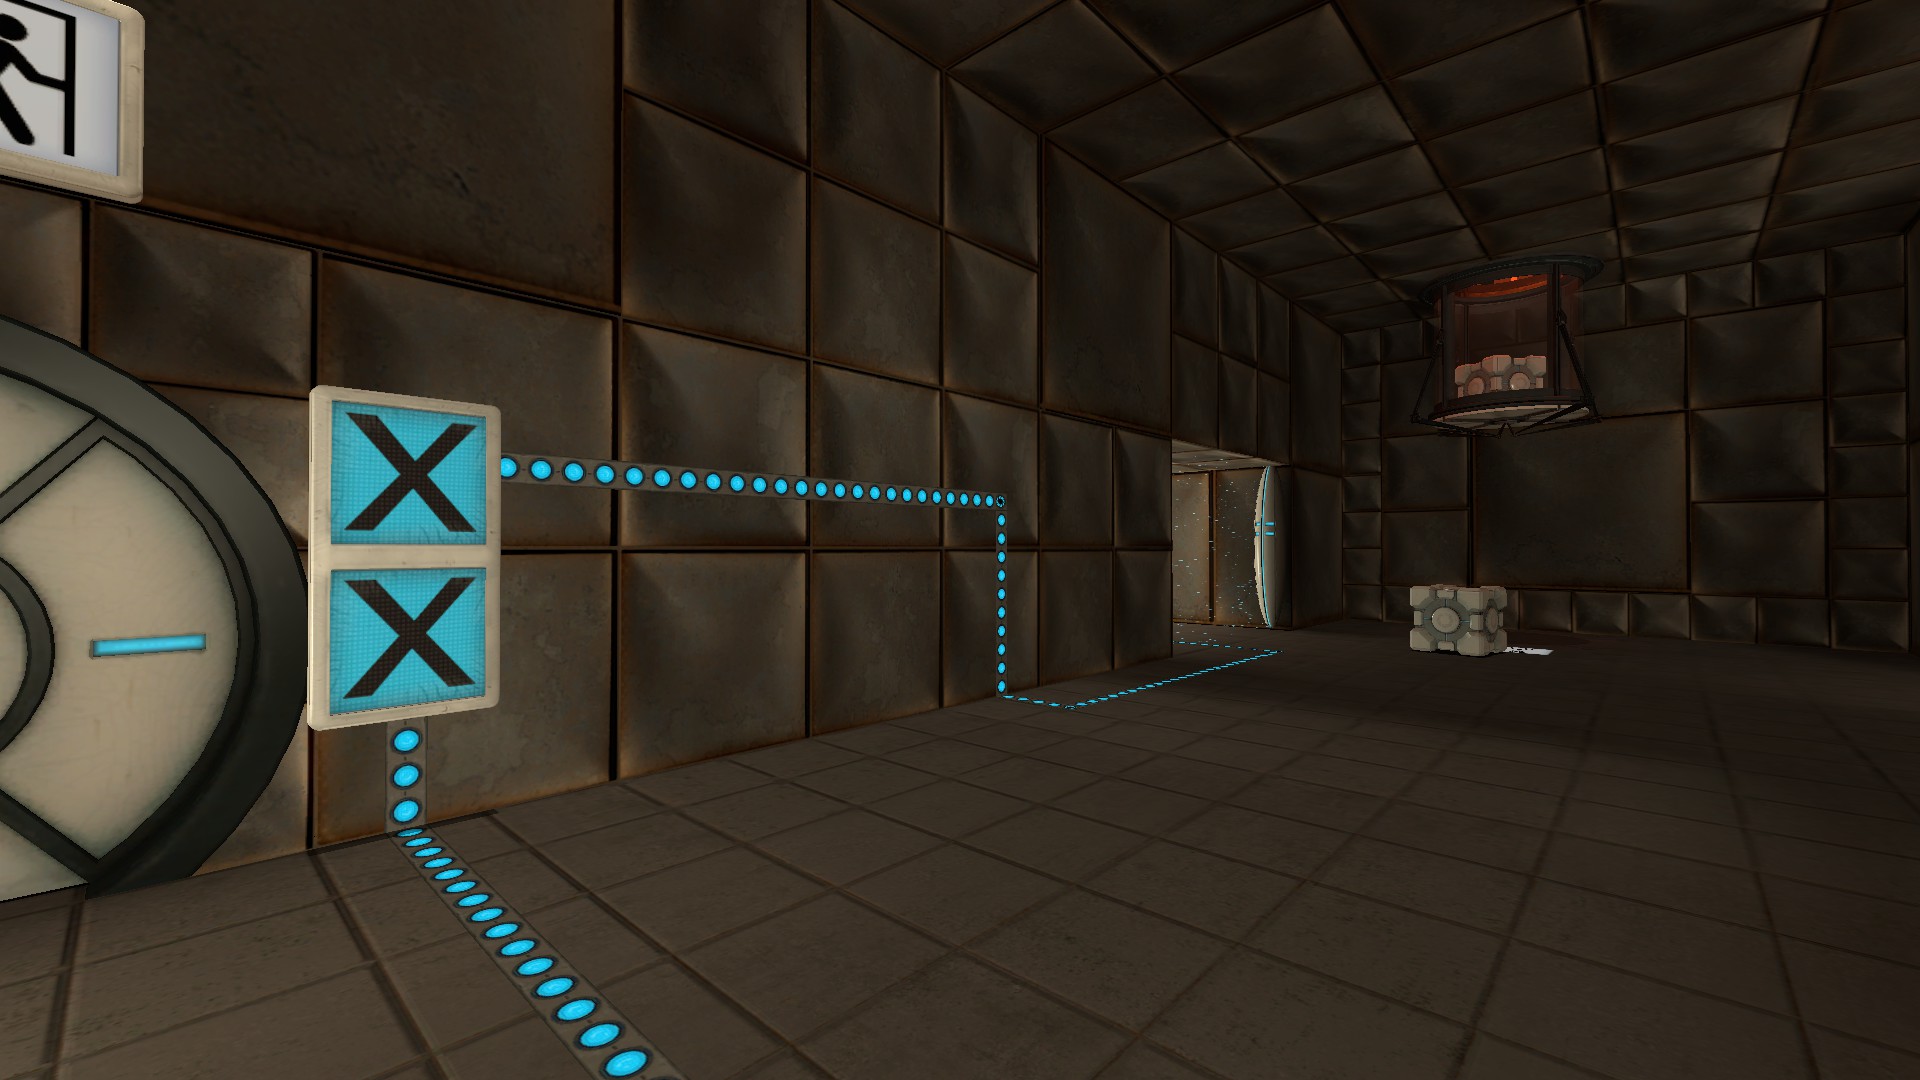
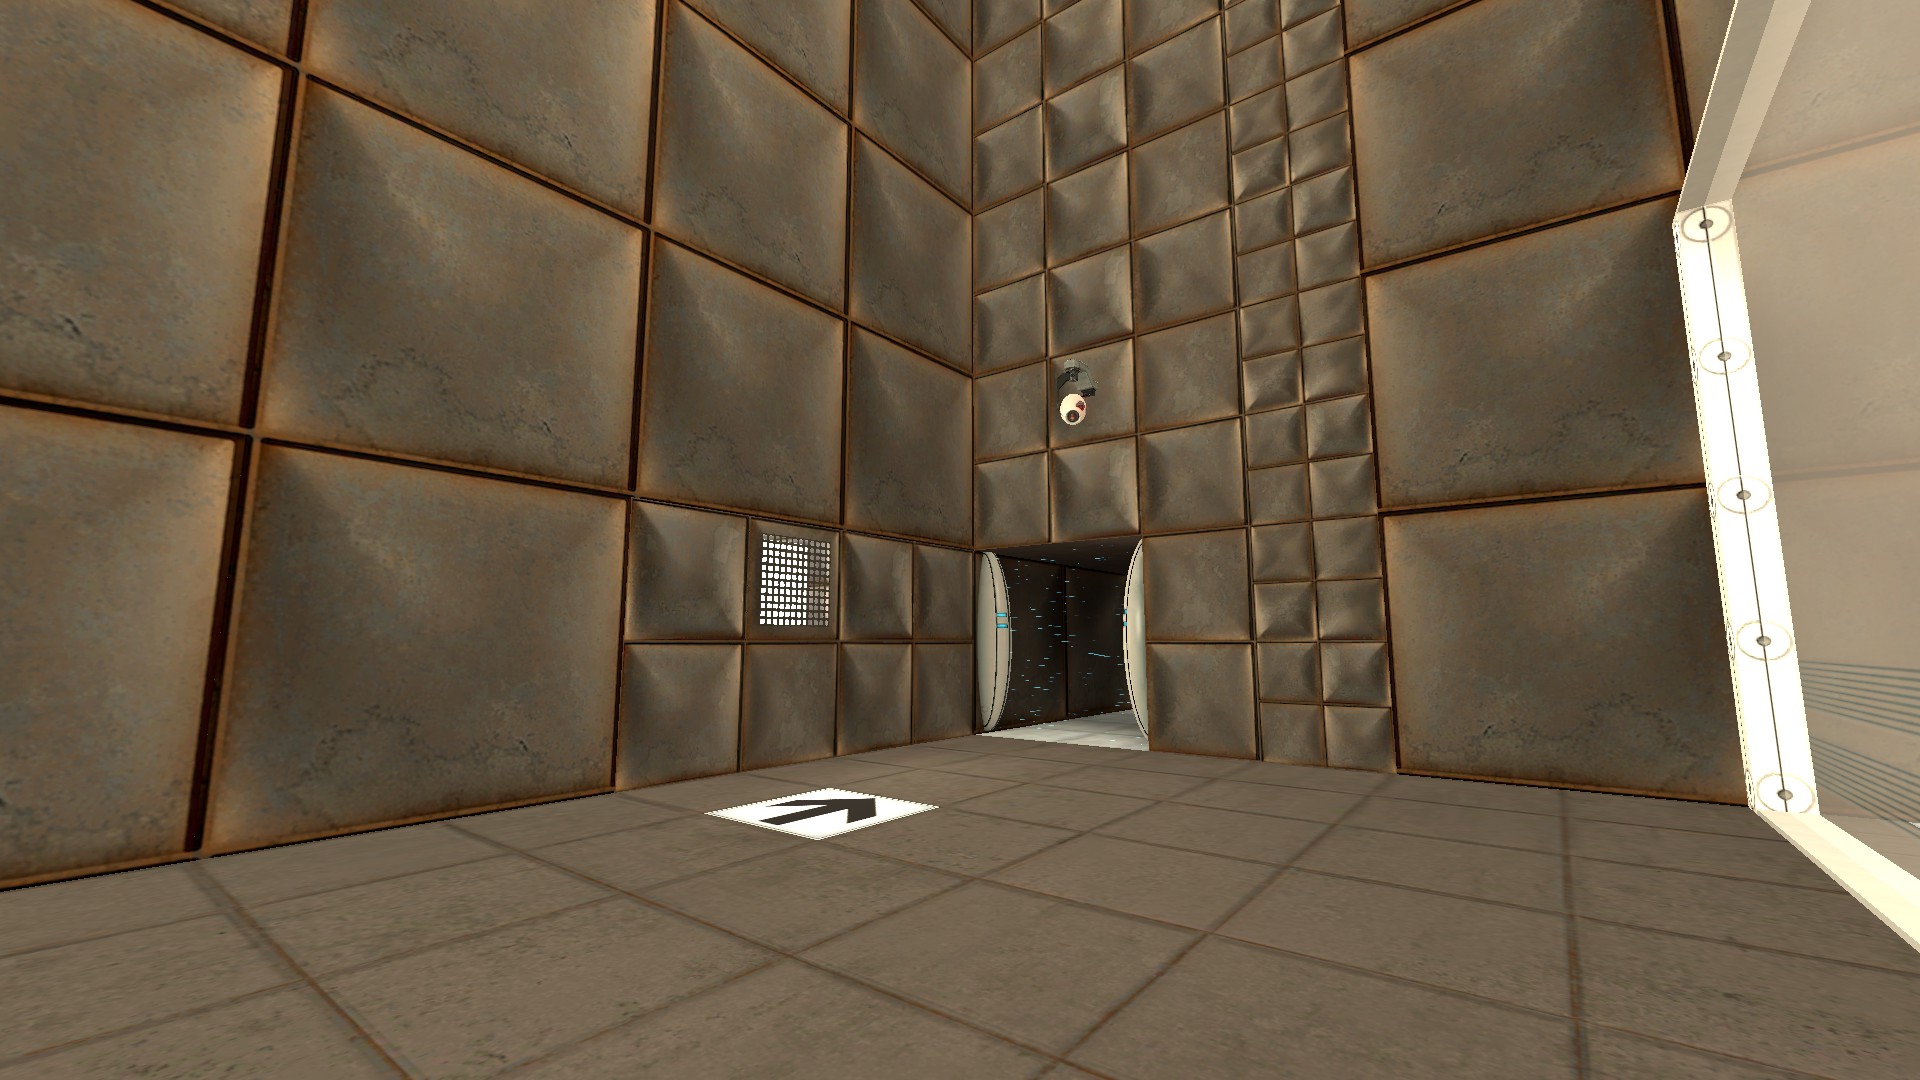
In keeping with the theme of, “In this universe, GLaDOS does not lie to you,” I knew from the start I wanted to make an actual impossible test. Initially, this room had three emancipation grids to make it incredibly clear that it was impossible to get the cube to either button, but players would still try to solve it, so I changed my approach from aggressively making the test look impossible to drawing the player's attention to where to break out. I also had to remove any complexity from breaking out since that is how you actually proceed with the level, not just an Easter egg. In the released version, not only is the broken section obvious once you notice it, but it makes a sound if you drop the cube on it, and you can even break it by putting the cube on it and then jumping on the cube.
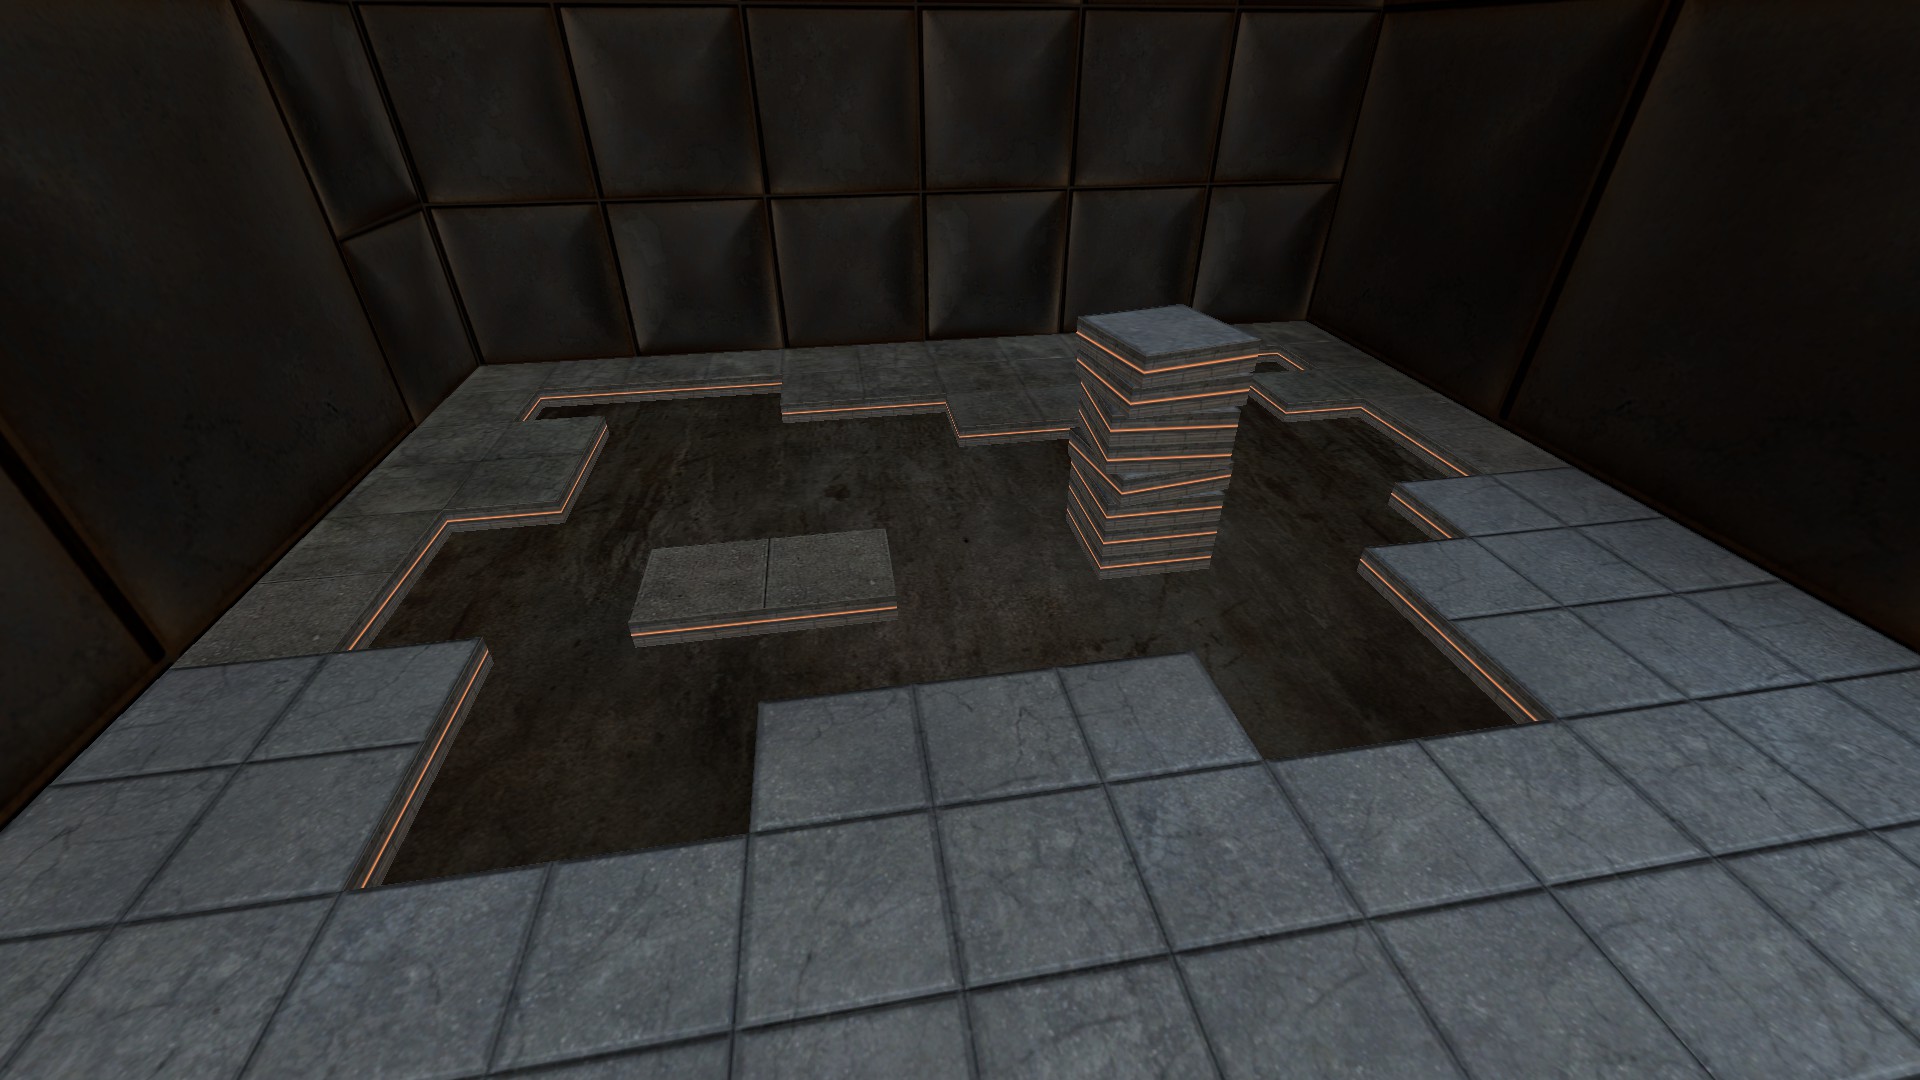
I struggled with what to do with this area for a while. I did not want to put anything in it that would make the player think it was important to the level, but I did not want to close it off and ruin the symmetry of this wall. The answer came from working on the chamber undergoing maintenance for chamber nine—if you were breaking into an unfinished chamber here, it made sense it might also be undergoing maintenance. That allowed me to achieve both goals and added a bit of flavor for folks who explored over here. Behind the scenes, though, I never stopped referring to this as “useless corner”.
It took a ridiculous amount of fine-tuning to get this fling loop, and it is still possible to mess it up, but after all the work that went into it, I am almost scared to move any part of it anymore. You can see portal placement on these three panels is more blatantly restricted than anywhere else in the map pack—probably more than any level I have seen in any map pack 😅
Portal hinted at test chambers being largely built out of combinations of moving panels, so I really liked the idea of one test chamber morphing into another around you. That was, unsurprisingly, a ton of work, so I settled for having the previous test completely retract behind you when you were done. I was very excited to see the developers also liked the idea of expanding on movable panels and made them more versatile in Portal 2 so that more complex morphing chambers were a bit more feasible.
I am also a big fan of Portal levels that make you use an element for one thing, and then reuse it for a different thing later. This takes the floor-to-floor challenge from chamber six and makes you do it using the floor from the first part of this room. I kind of wanted to build this around making you use the retracted side panel you used to get out of the fling loop, but that proved too confusing for a lot of players.
There is a little Easter egg here that opens if you manage to bring the cube from the impossible chamber all the way here. The actual Easter egg is just showing what the game does if you put two orthogonal portals inside each other, which might not the most exciting thing to everyone, but the important thing to me is the level acknowledging you put in the effort to accomplish something that challenging for no reason.

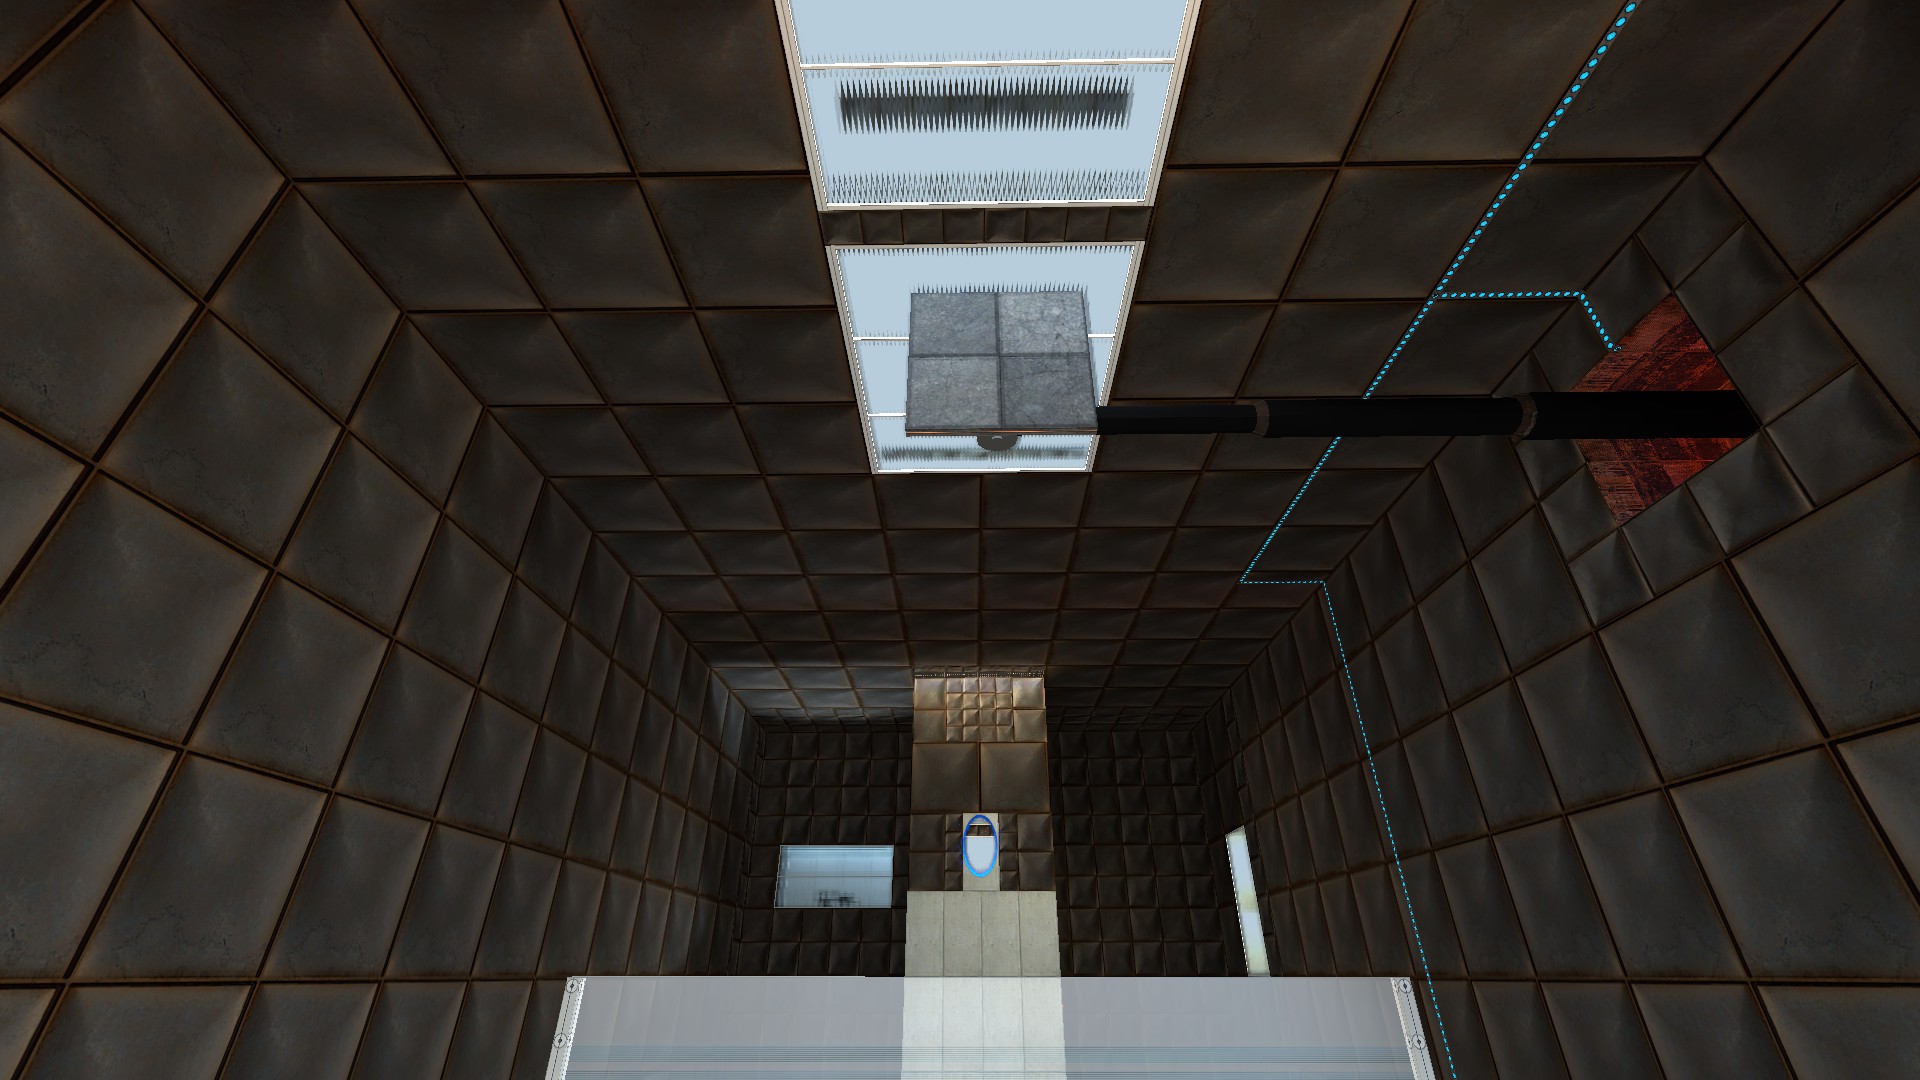
I never figured out a good in-universe explanation for why this exit was not viable. Maybe someone else in the facility is trying to stop you getting back to the testing track you were on?

Originally, there was an emancipation grid on the edge that would turn into a blue wall when you went past, but players would be so focused on the elevator, they wouldn't realize that had happened, try to back out, and die. Eventually, I added the second set of generators to hint that a blue or red wall was probably going to appear there. It looks a bit clunky, but it let the players remove backtracking from their mental list of options and focus on the ceiling-to-ceiling portal hop.
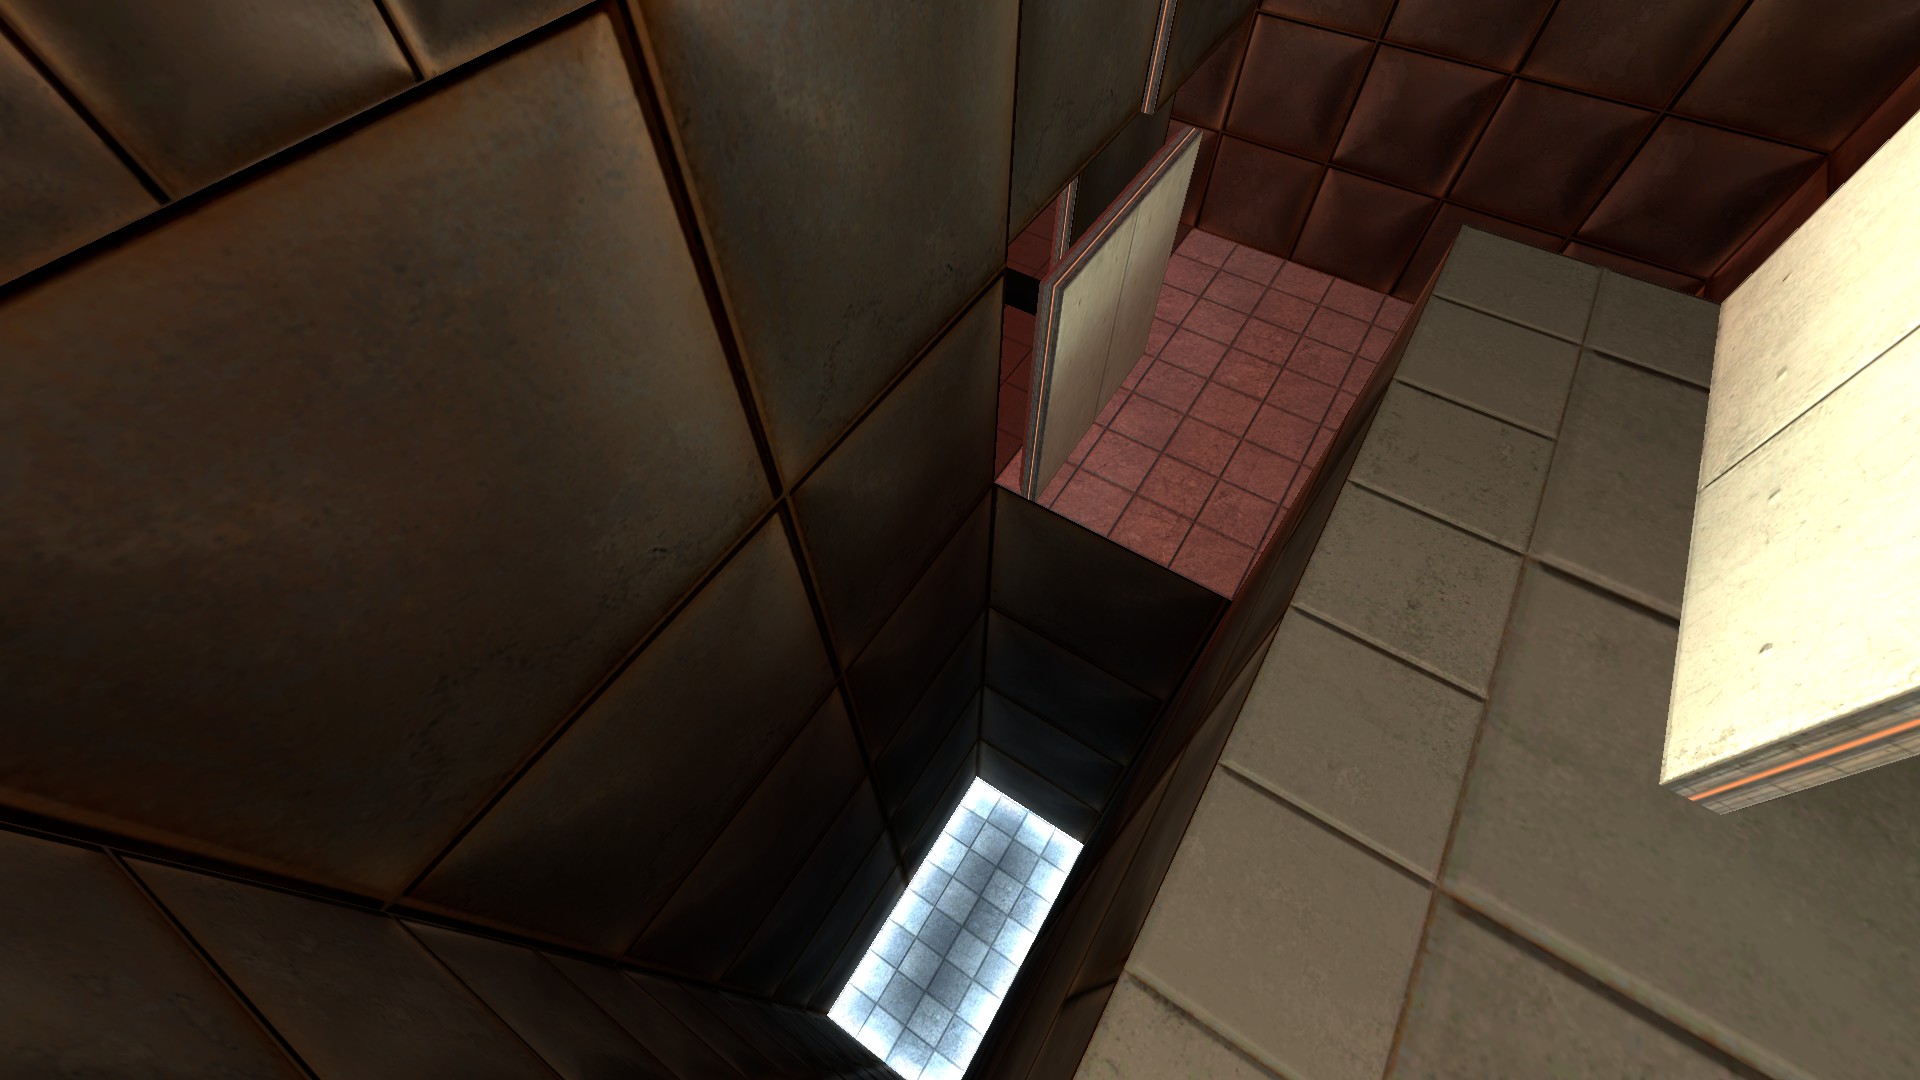
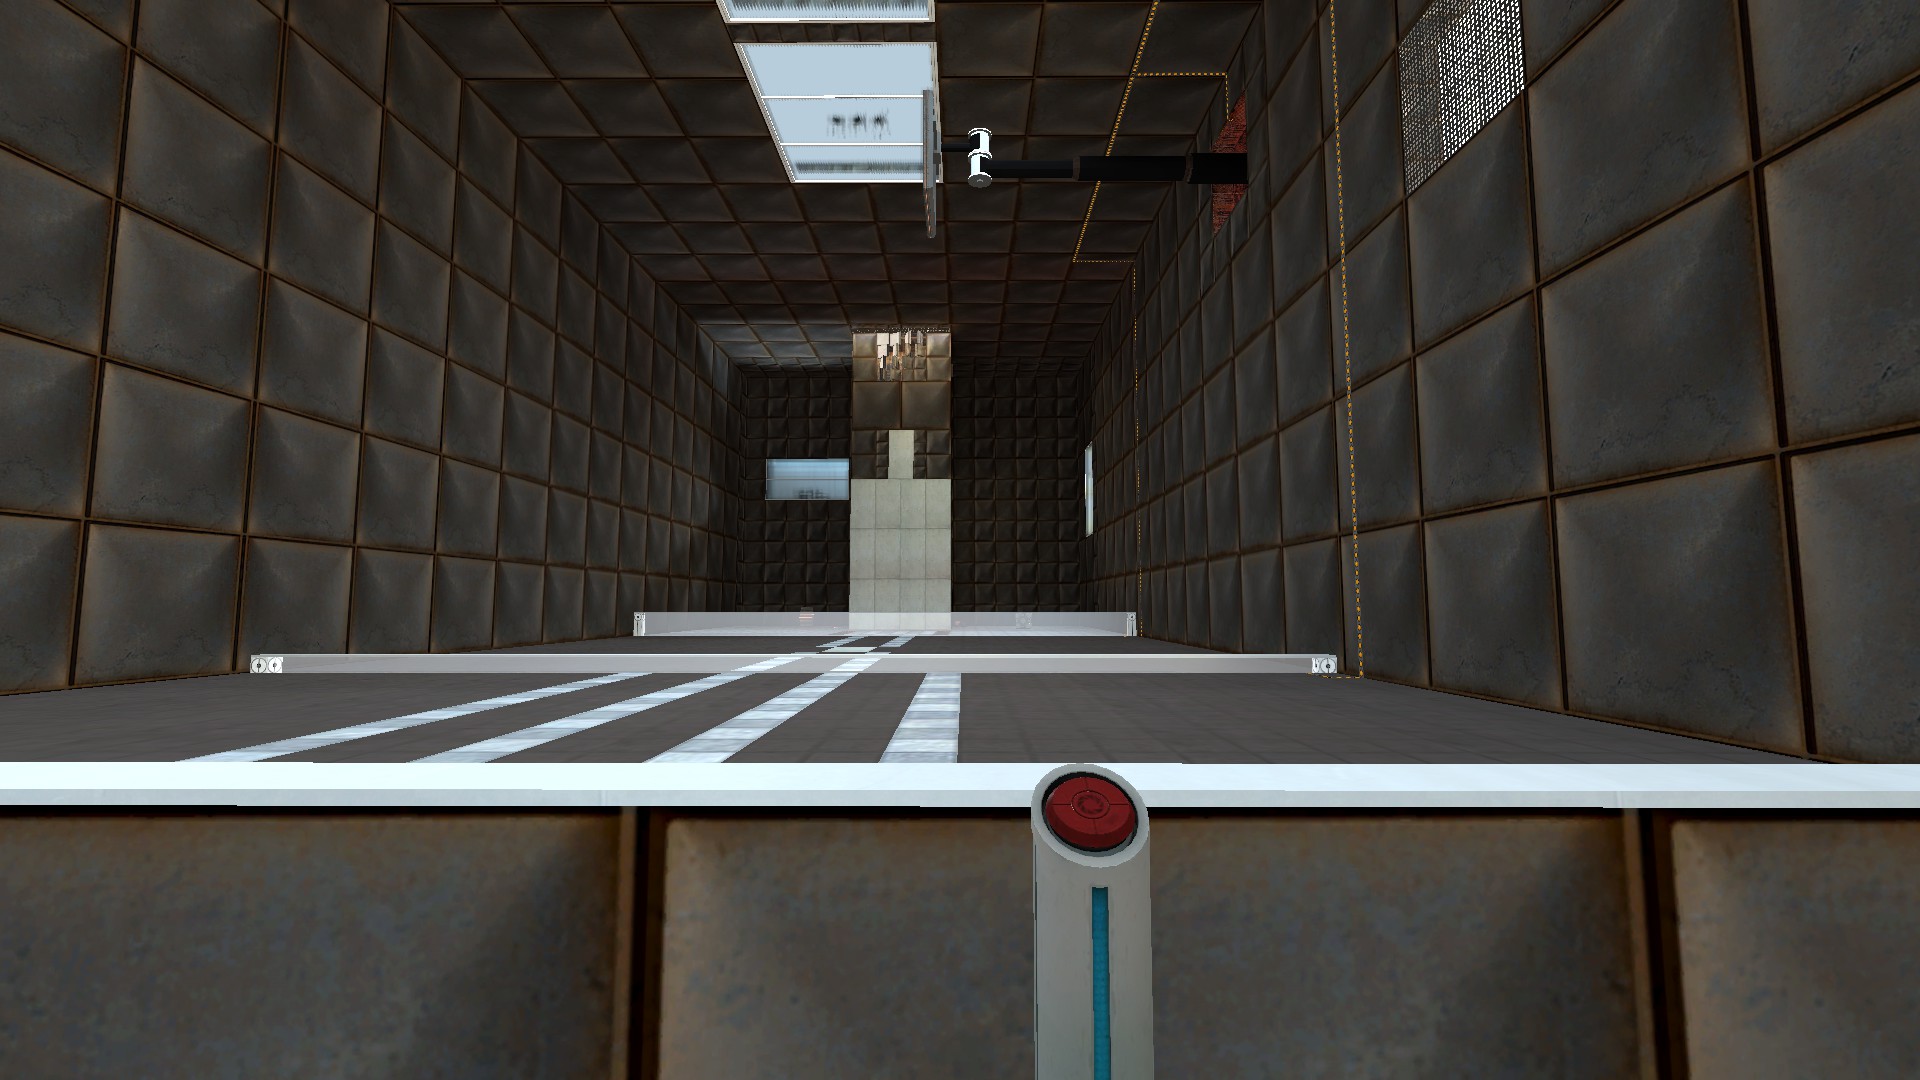
At this point, the player has gone from doing a floor-to-floor jump in one test, to doing a floor-to-floor jump from an earlier test in the same chamber; now xe has to do a floor-to-floor jump to a floor out of sight in another room. Originally, there was just a drop-off in the duct, but it felt a lot more fun and rebellious to break into another test chamber and use its fling pit instead.
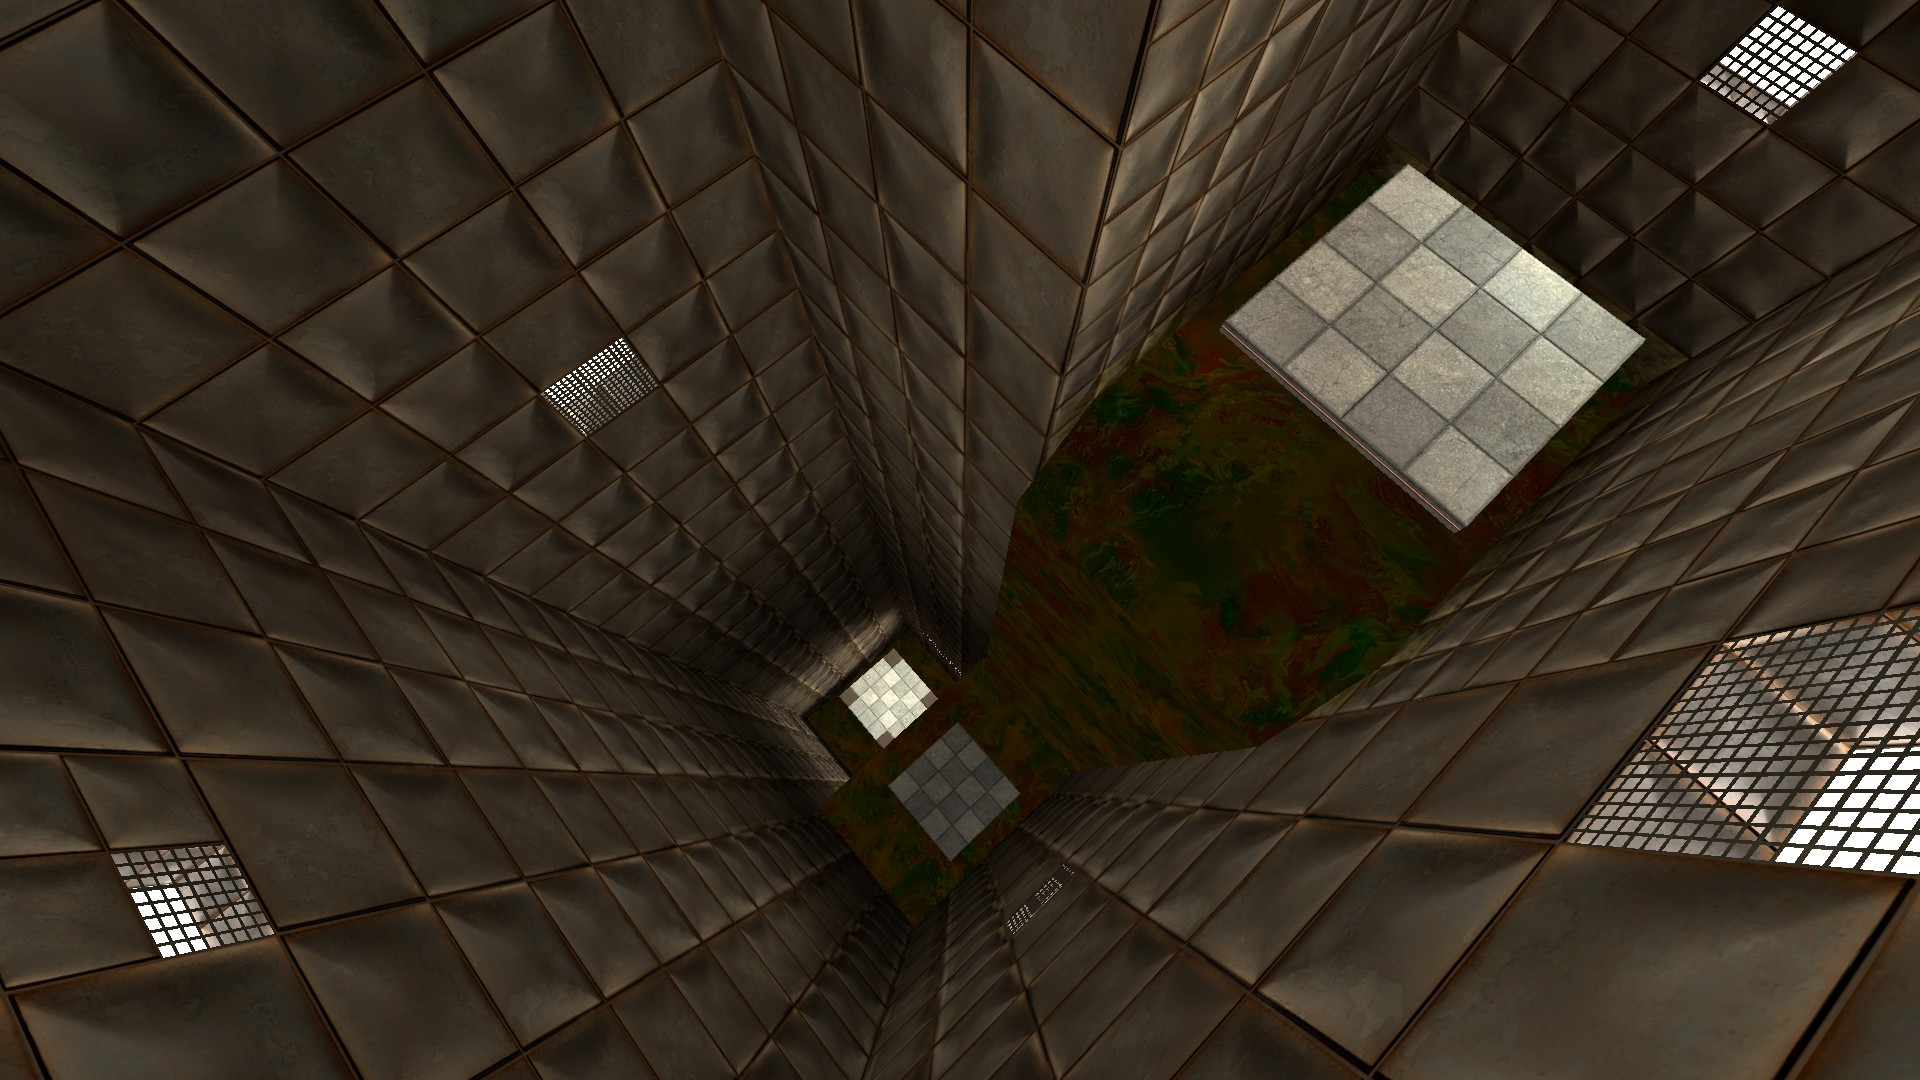
The goo waterfall made for a nice change of scenery from normal test chambers, and continued the feeling that you were breaking into areas you were not supposed to go.
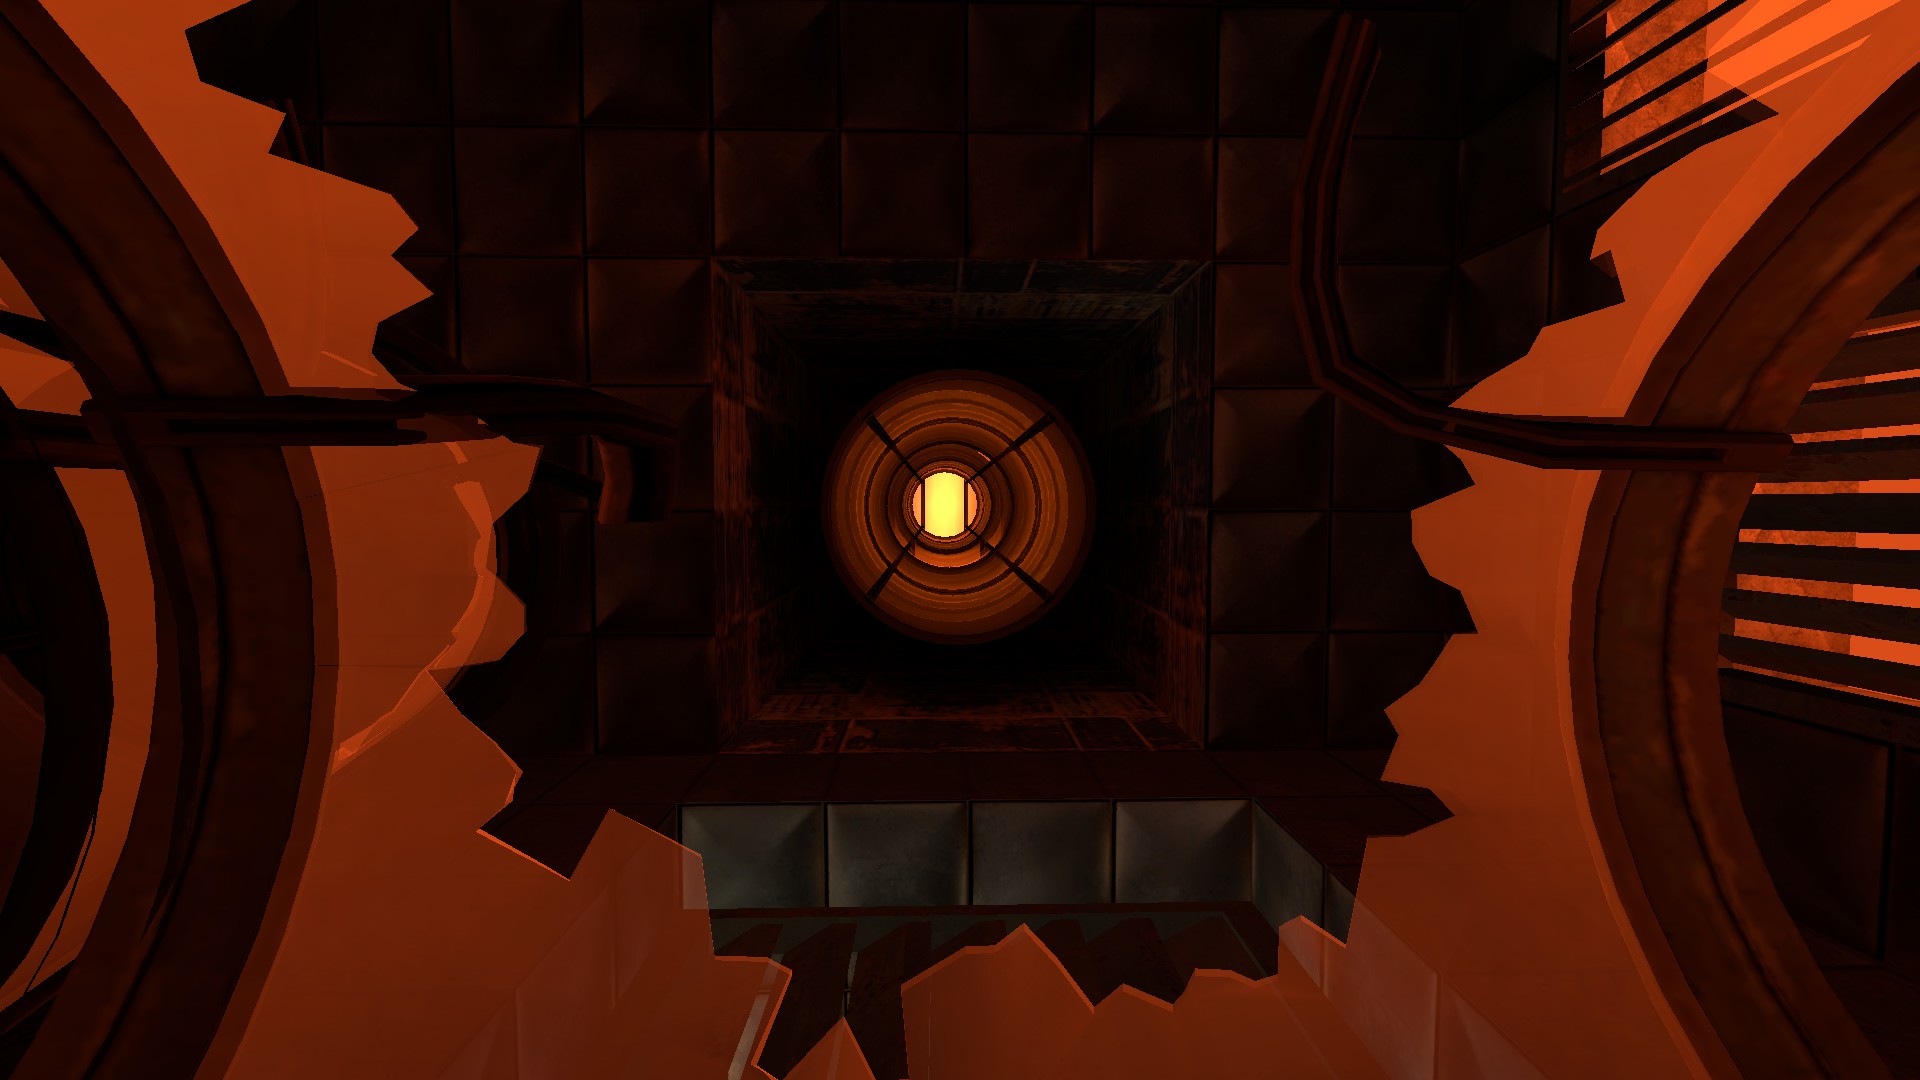
I struggled for a while with how to get you back to a normal level end from this chamber, and almost considered having you just break in through the ceiling of chamber eight, which would have been an issue if I decided to redesign that area of the chamber or change the order of the chambers later. This was all solved by the elevators in the 2020 update since the elevator shafts were also vital apparatus vents.