Z Chamber 11 Developer Commentary
This was chamber 10 in PortalZ: The First Slice and 08 PortalZ: The 2020 Slice.
Developer commentary may include spoilers; I recommend you finish PortalZ before reading further.
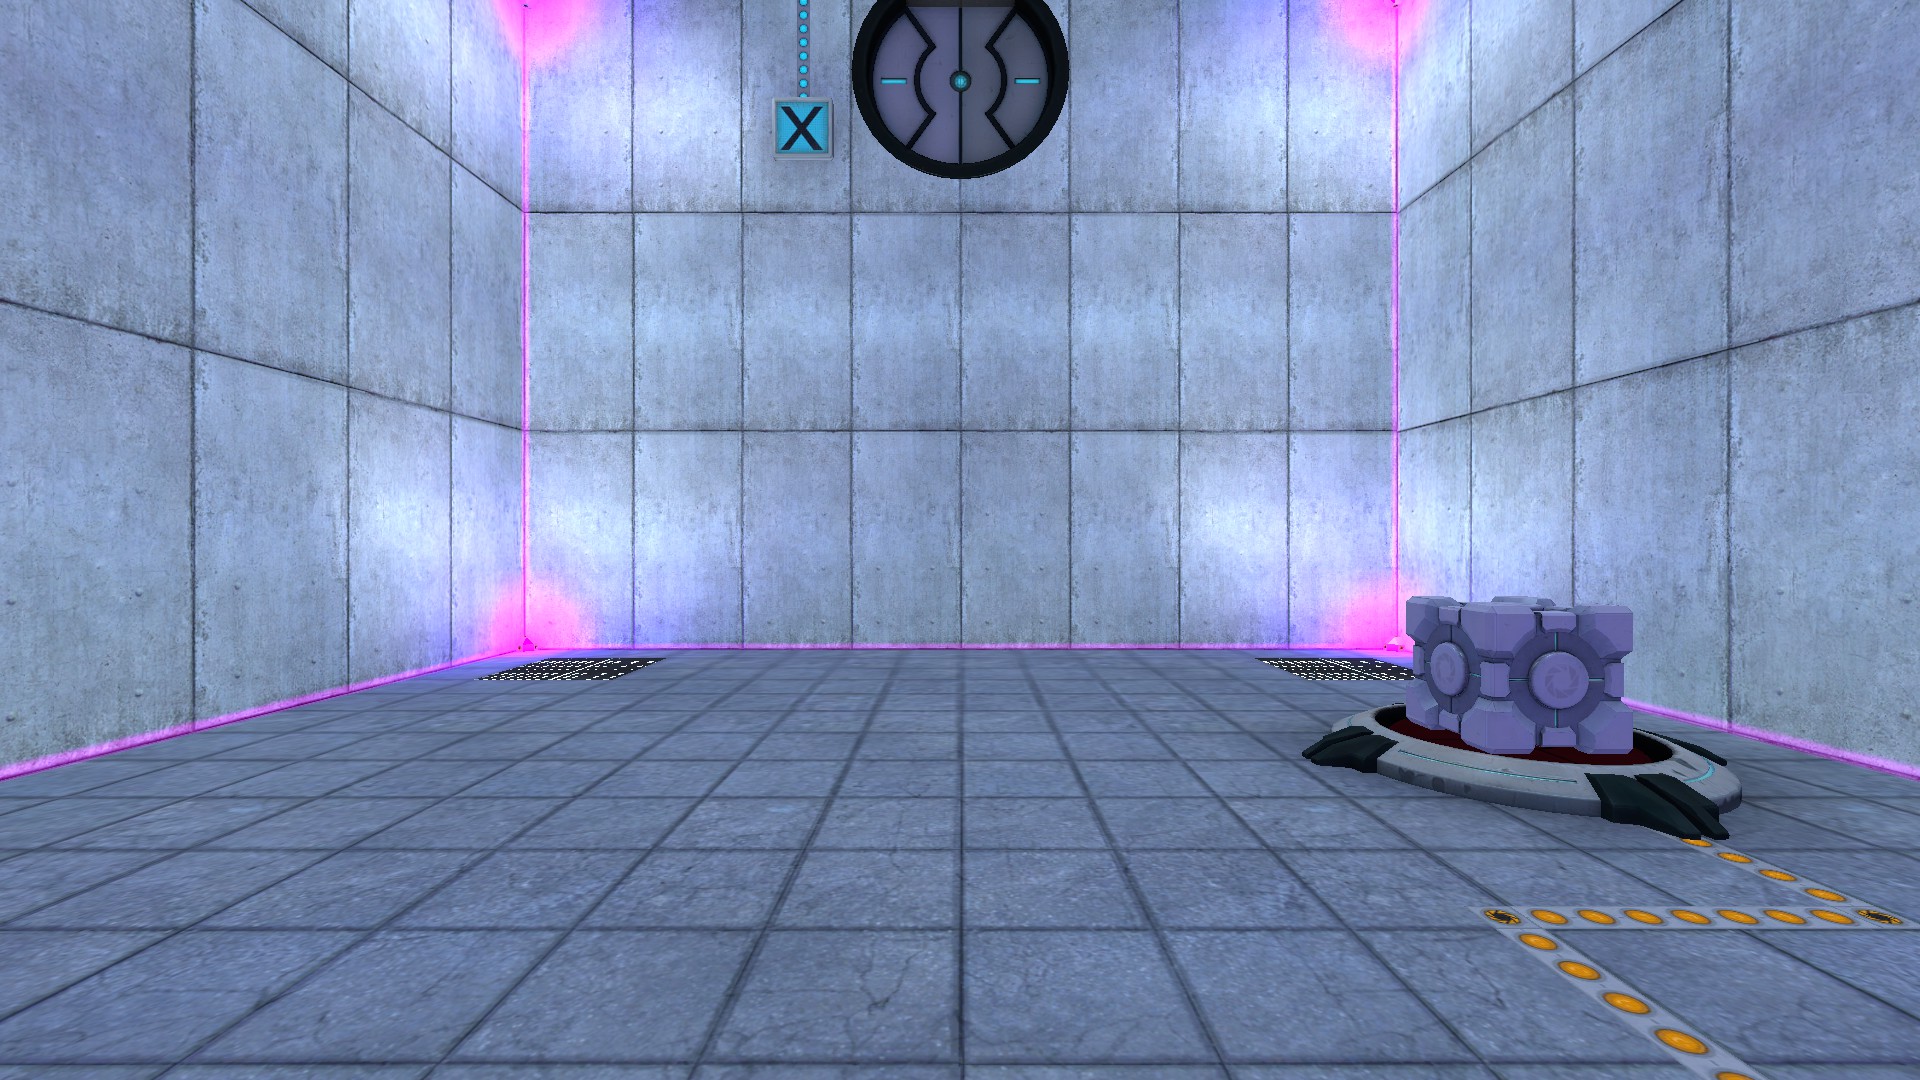
I knew I wanted to do a lot with gravity fields after I played Portal: Prelude and saw how little use they got. For the design of the fields, I used Portal: Prelude's as a starting point, but did not want to make them red since everything else red kills you. One other map pack I tried used a blue effect for gravity fields, but I ended up choosing purple because I wanted it to be extremely clear these were a new element, and not some variant of emancipation grids or hard light walls. I went through a few iterations before settling on the corner designs—they had to be small enough that they did not impede your movement, but noticeable enough that you would know where fields would appear before you activated them.
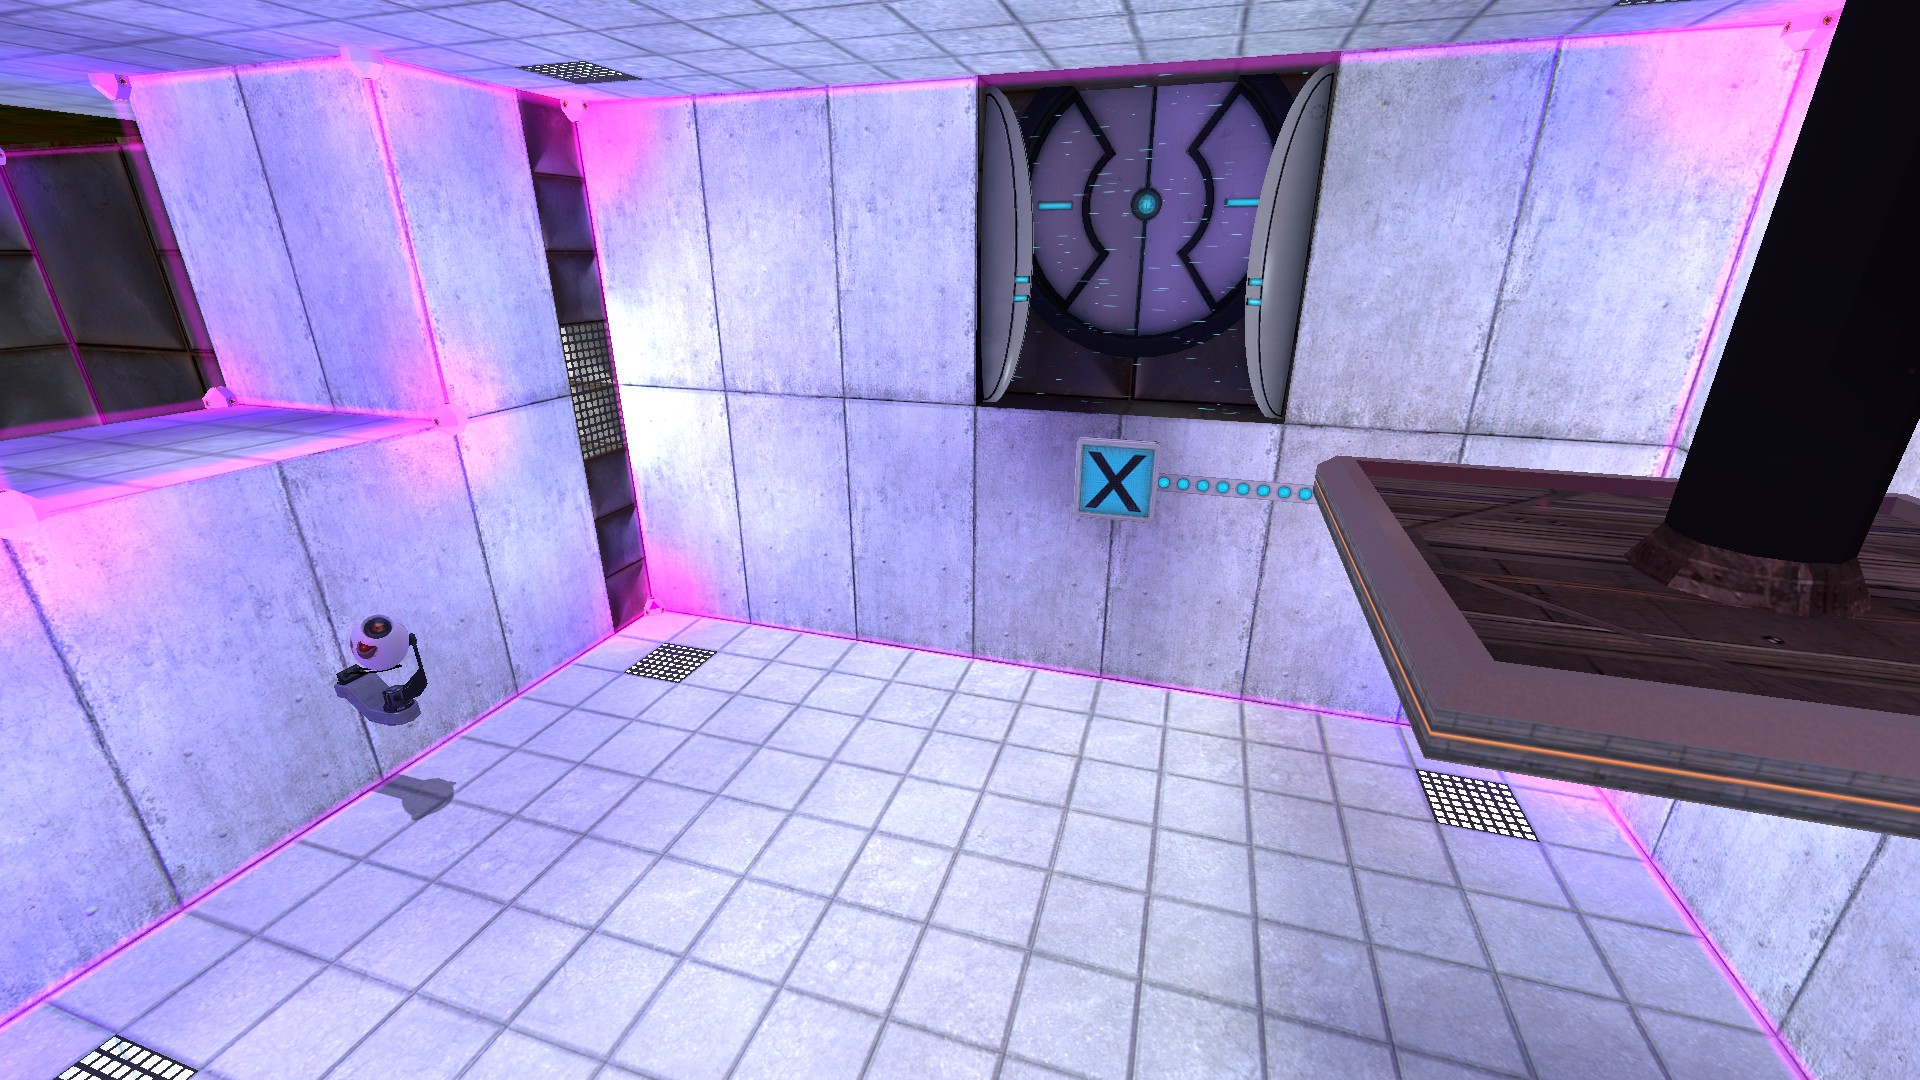
The rooms with altered gravity each have a camera right there when you enter so you can quickly test the gravity if you want. Of course, the first cube dropper also waits until you enter its area to drop its first cube so you can see the altered gravity that way.
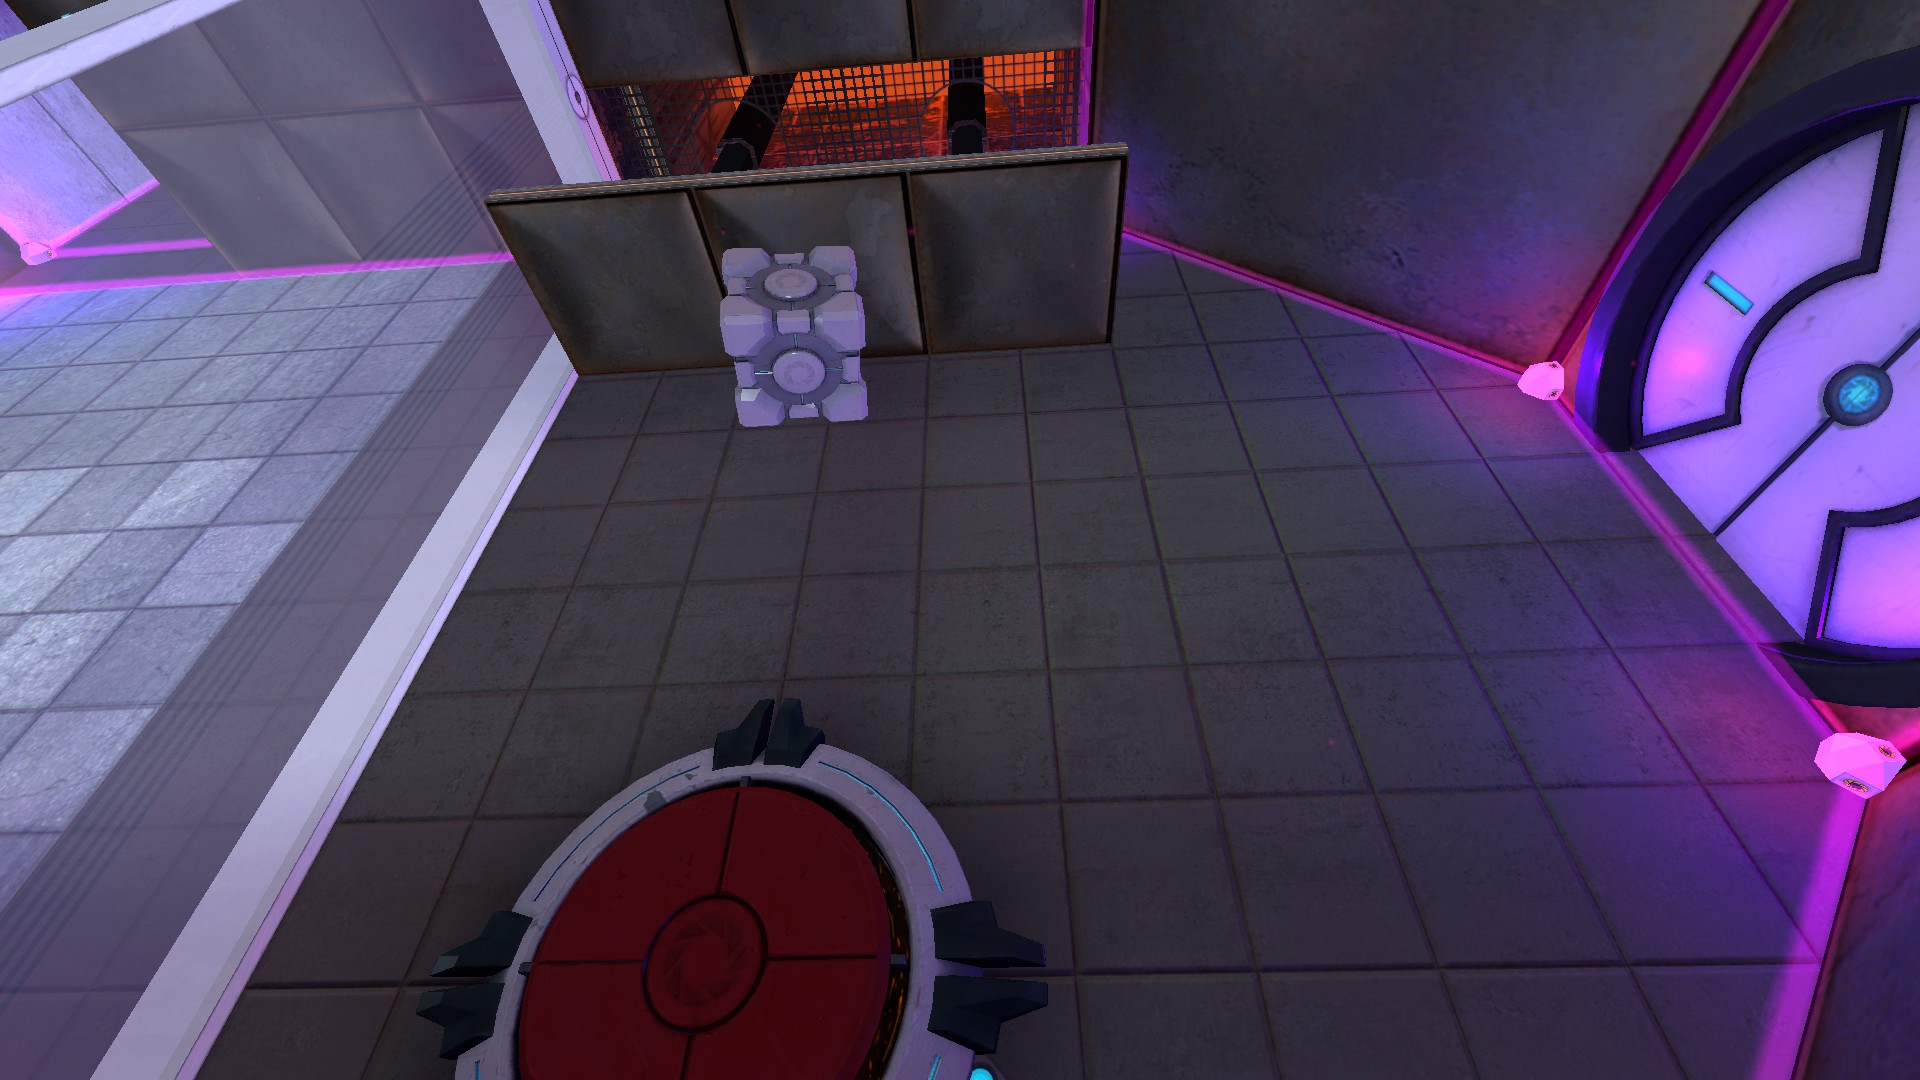
This chamber is another with an anti-fail wall panel. Because gravity is not altered for you, it is possible to throw the cube to the far side of the chamber and be unable to reach it, so the chamber pushes it back to you. It could be be a little weird to design moving parts for this chamber in the level editor because, of course, the editor has no idea the chamber is sideways.
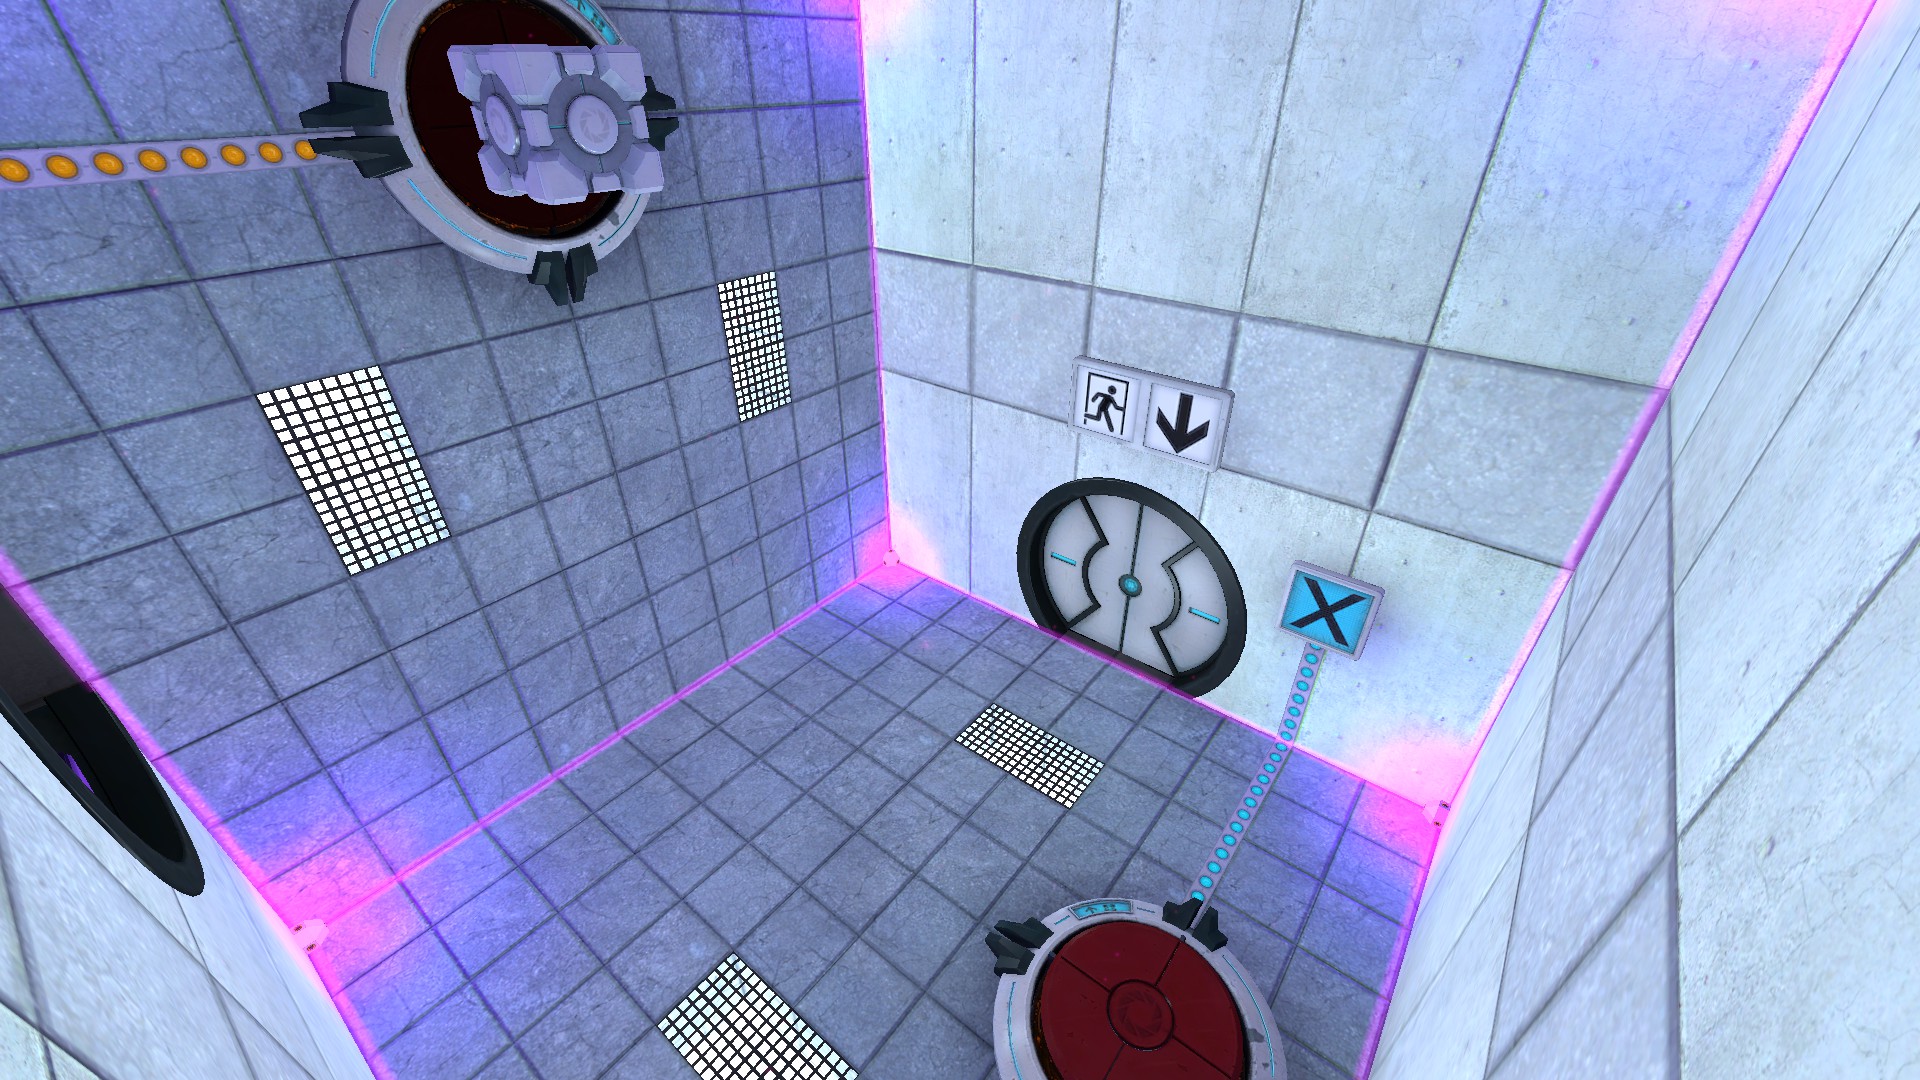
Where the second transition room made getting the cube on the button trickier, this final one makes it super simple as a reward for completing the rest of the chamber. The final hall turning itself upright is kind of me letting you know this is the only time I will disorient you with test chambers that aren't upright.